Showing posts with label nursing. Show all posts

Friday, April 26, 2013

DIY The Easy Bralette Nursing Top


How to rafashion an maternity tank into a nursing top

 This is an easy top to make out of a few items you probably have laying around. Because of the shape of this nursing top I think it is a perfect one to make with one of your old maternity tops. With this you can turn a maternity tank into a nursing tank that will cover your belly right after delivery.  If I could go back in time I would make this nursing tank in my last month so I would have it as soon as I got home from the hospital.
The best part about this top is that you can nures with it from two different positions  You can easily pull the  top down reveling the holes in the bralette, for baby. Or you can lift from the bottom of the tank section reveling the bralette to nurse, shown in the  photo below. Either way your breast will be covered while nursing. (I am wearing a burgundy undershirt to keep this page PG)

This is a diagram of how you lift the top portion to nurse

Or Pull down to nurse


The thing I used to make this top. You also need basic sewing supplies. 


Step 1

I cut two holes in the bralette located at the nipple. The best way to find the best location is to try the bra on and use chalk to make a small mark, then cut the location that you marked. This fabric did not need to be hemmed to prevent fraying.


Step 2

Cut the large top above the arm holes, leaving room for a hem if you want. I just cut at the arm holes.
Step 3

Attach the original hem of the large t-shirt to the bralette. Pin and stitch using a zig-zag stitch. Bunch the T-shirt so that it will fit and this will create pleating on the shirt.

After the two pieces are attached the top should look like the photo below.
 *Note I still have the bottom pinned in this photo; I had planned on hemming it. Then I changed my mind and decided to create a different hem line as well as not hemming the shirt.
Step 4
I cut the t-shirt at an angle to create a high-low hem.
Step 6
Next start working on the tank top. Cut the top part off, this will become the part that covers the bust. The length of this will be different for everyone. The best way to determine the length is to try the tank top on and mark with chalk the location to cut. Keep the top portion for this project and save the bottom for another day.
Step 7
Pin and stitch the strip of fabric along the bottom of the tank top. Only attach it 1/2 to 3/4 way around the tank. This leaves the strip unattached at the back. *NOTE you can see a better picture below of how this should look when the fabric strip is attached.
I told you I would have a better picture. The tank top should look somthing like this after you sew the strip of fabric on.
So at this point in the project you will have two parts. One part will go under the other. The gray tank will go on top of the bralette, covering the nursing holes. 

When layered they will look like this 

NOTE; you can attach the gray tank to the bralette, but for this post I left them unattached. I think this makes washing easier.

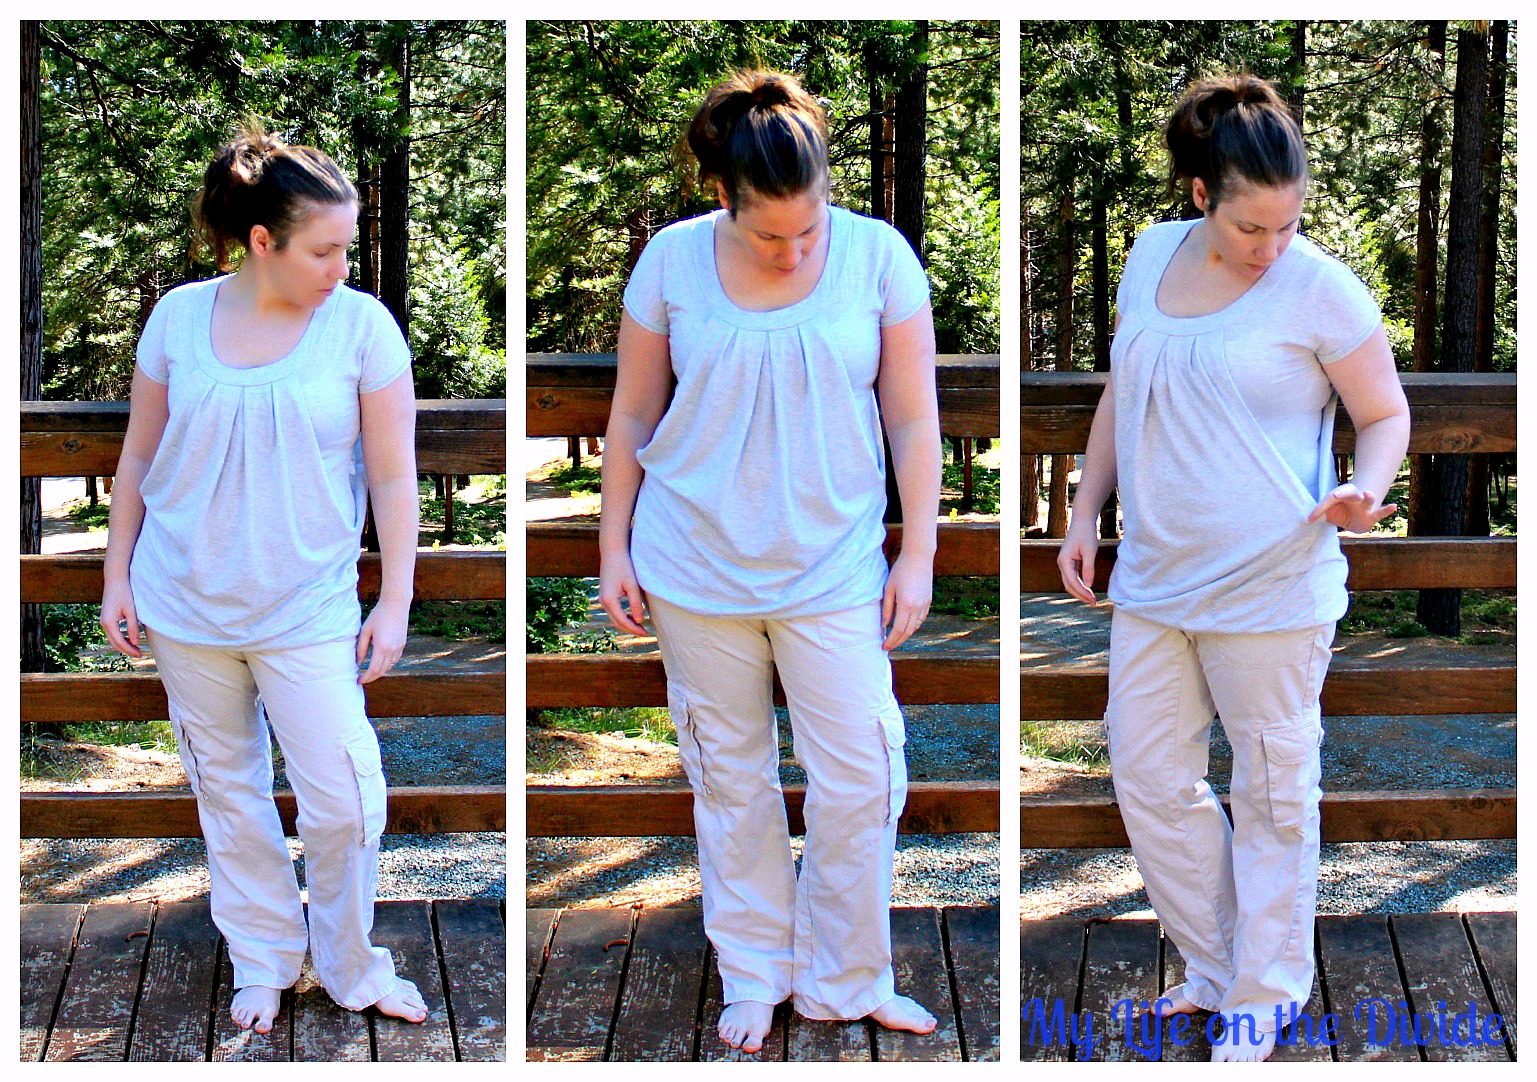
Then you are all done. Now you have a fabulous nursing top. This is how it looks on! I hope you like it.


Wednesday, March 14, 2012

The Nursing Cover Scarf


Tutorial 5
The Nursing Cover Scarf


Nursing scarf that you can make quick and easy


My baby has become like a bird whose head I must cover in order to get him to relax. I guess I could use a normal nursing cover but that would be one more thing I need to put in my overflowing diaper bag. Seriously you would all laugh if you saw the diaper bag, any ways.
So I came up with a quick way to up cycle a scarf into a nursing cover scarf. This is so easy I am sure all you mommas will be able to whip one out during nap time.

Step 1
Gather supplies
You will need:
  1. A scarf(or similar shaped and size fabric)
  2. A long thin scrap a fabric for the neck strap (I used a bottom of an old matching t-shirt)
  3. Sewing supplies (needle, thread or machine)
  4. scissors
  5. Pins

Once you get all you supplies you are ready to get started.

Step 2
 Find the middle of the scarf and make a chalk, to find the middle just fold the scarf in half long ways.

Step3
Find the best spot on the scarf to attach the neck strap.  This will be a little different for everyone depending on the coverage you like.  I made a diagram of the easiest way to find the place to attach the neck strap, it was a pain in my butt so I hope you enjoy it.
Basically your going to hold the scarf up to you with the middle chalk mark right in the middle of your neck.  Then use safety pins to attach the fabric piece around your neck, making sure that you get the coverage you like. (I attached my strap about 81/2 inches from the middle on each side)


Step 4

After you have found the best location for the neck strap use straight pins to hold the strap into place.  You will need to fold the ends under so it will not fray.  Then give a quick stitch and Ta-DAAA your all done. (I am sure you could use my favorite fabric glue to make this in to a no sew project, I love the no-sew!)


Step5
 You now have a scarf that will double as a nursing cover.

You can use it as a breastfeeding cover
You can still use it as your scarf


So what do you think?  I hope you will give this a shot at home.  Its easy and looks cute.  Let me know how you nursing cover turns out, I would love to see them.


Wednesday, March 7, 2012

DIY Cute no sew nursing top


Tutorial 4
                                            

I was browsing my favorite maternity shop figure 8 maternity  and found this cute nursing top for $74.  I love it but I can't spend that much on myself, I just can't.  I am sure all you Mommas know what I am talking about.  So I am going to show you how to make one like this one for less. Much less
I saw this fort $74!!!  at figure 8 maternity I will show you how for $5


It works like so, very nice when you're out and about.


This style top was super popular a few years ago, so guess what that means?  Yep you got it!  The thrift stores are filled with them.  They are the perfect style to convert into a cute nursing top...Ok lets get started!

Step 1
What you need
You will need a top (this double layered style), scissors, Chalk, Fray Check and liquid stitch (or sewing machine) Small scrap of ribbon or fabric.
This is the top I got out of my sisters closet(not a thrift store but actually garbed it from my sister)

Step2
Mark with chalk

Try it on and mark with chalk a line down the middle and a line just under the bust (so you know where the ta-tas are!)


Step3
Cut it up! 


Now time to cut this part is the tricky part!  You need to be a little crafty with this part and adjust it to your shirt and body, but I know you can do it! You will get the best results if you make a few snips then try it on and check to see how easy the breast is to access, then keep doing this until you have a long enough slit cut to access your breast very easy.  Depending on you particular shirt and body size you might need to make this cut longer or shorter than mine.   TIP*  You might also need to make it a slight oval.

Step 4
Glue or sew 


Now you (probably) need to fasten a ribbon to help keep the slit from showing too much at the wrong time.  Use liquid stitch or sew it on.  You might need 1,2 or 3 sets of ties.
This stuff is the best for any No-sew project!

I got this ribbon on a set of towels so it was free
Step 5
Reinforcement!

Run Fray Check all along the opening adding extra at the top and bottom.  (if sewing run a stitch back and forth over the top and bottom and a zig-zag around the opening)
.
TA-DA!
Look, you can't see anything!  
All done, now you have super cute fast and easy nursing top refashioned from a top you might have in the back of your closet.  If you make one please show me a picture of how it turned out.

THANK YOU FOR VISITING

Well I hope you all like the little fixes I made to this post to make it a bit more reader friendly.  Please let me know if you have any questions.